Project One
I really enjoyed learning to use photoshop techniques. In this assignment, I learned how to use the crop tool and the rule of thirds. The rule of thirds has become very handy later on! We also used the image resize tool, magic eraser, opacity, and the horizontal type tool.
I had a few challenges while working on this project. While using the magic eraser, I didn't set my tolerance level correctly and it ended up making my compass look weird. I quickly identified the problem and fixed it. Another struggle I came across was not using "Reset Character" while using the horizontal type tool. I noticed that the ONW looked wrong because of it, so I retraced my steps and tried it again. I was successful in my second attempt. This assignment was a great re-introduction to Photoshop, since I have used it before.

Project Two
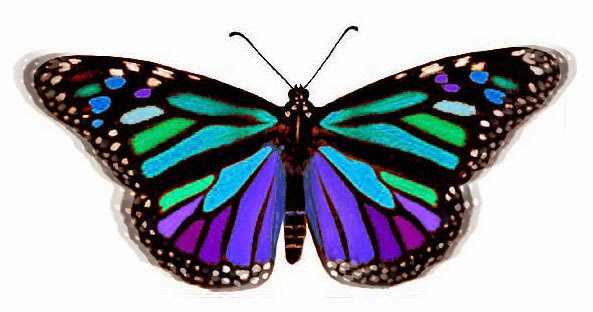
This project was really open to creativity, which I was fond of. I changed the canvas size and used the magic wand to select symmetrical areas on the wings. Then, I adjusted the hue using the shortcut "Command-U". I also learned how to use the clone stamp that gave a cool effect on the wings.
The only difficulty I had while working on my butterfly was using the clone stamp. I had to try it two times to really give the flying effect.
Project 3
I liked this assignment because of the bold feeling it gives off. I used the rule of thirds to crop the photo that was provided, and created a text mask. I also learned how to properly commit the text and invert it. I constrained the gradient, used a thin white stroke on the text, and adjusted the saturation to my liking. A struggle I had with this project was adjusting the gradient to the way I wanted it, but eventually I decided on a more subtle one, because it looks more professional.

Project 4
This assignment was very interesting to me because it introduced me to some of the many techniques that Photoshop is known for. I removed two light poles and a few other objects using the magic eraser and the clone stamp. I also learned how to use the quick selection tool to copy and paste the raven on to the school photo. It was easy to use the same technique for layering the rest of the pictures provided. One thing that I struggled with was the sizing of some of the images inside the raven, but I tweaked them to fit how I wanted them to. Another problem was smoothing some edges on the raven, but I used the mask tools to correct them.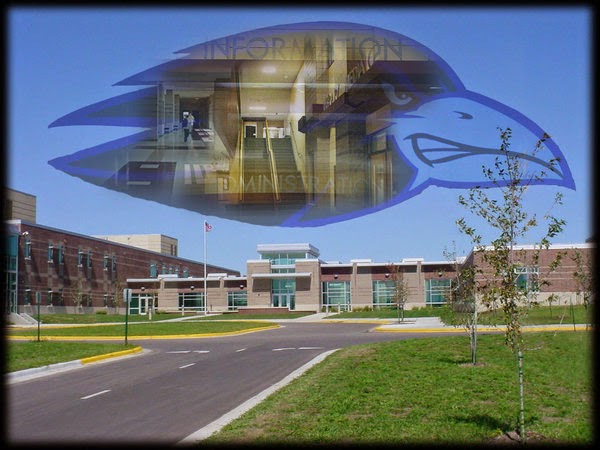
No comments:
Post a Comment